Curtains are an integral part of any home. They provide much-needed privacy, block out harsh sunlight, and add a touch of elegance to your windows. Beyond their functional benefits, curtains also add texture, color, and style to your living spaces and bedrooms. Whether you’re looking to create a cozy retreat or a sophisticated living area, the right window treatments can make all the difference.
A few factors need to be considered when planning to hang curtains, such as the height of your ceilings, the width of your window frames, and the style of your room. These elements will influence where you place the curtain rods and how the curtains will be installed. Properly installed curtains can transform a room, making it feel more spacious and inviting.
This guide offers practical tips and techniques for hanging curtains, from measuring and installing curtain rods to selecting the right hardware for your space. With the right tools and a bit of know-how, you’ll be able to install beautiful curtains that enhance your home’s decor and functionality. Ready to get started? Here are the details!
Best Tips on Where to Hang Curtain Rods for Perfect Drapes
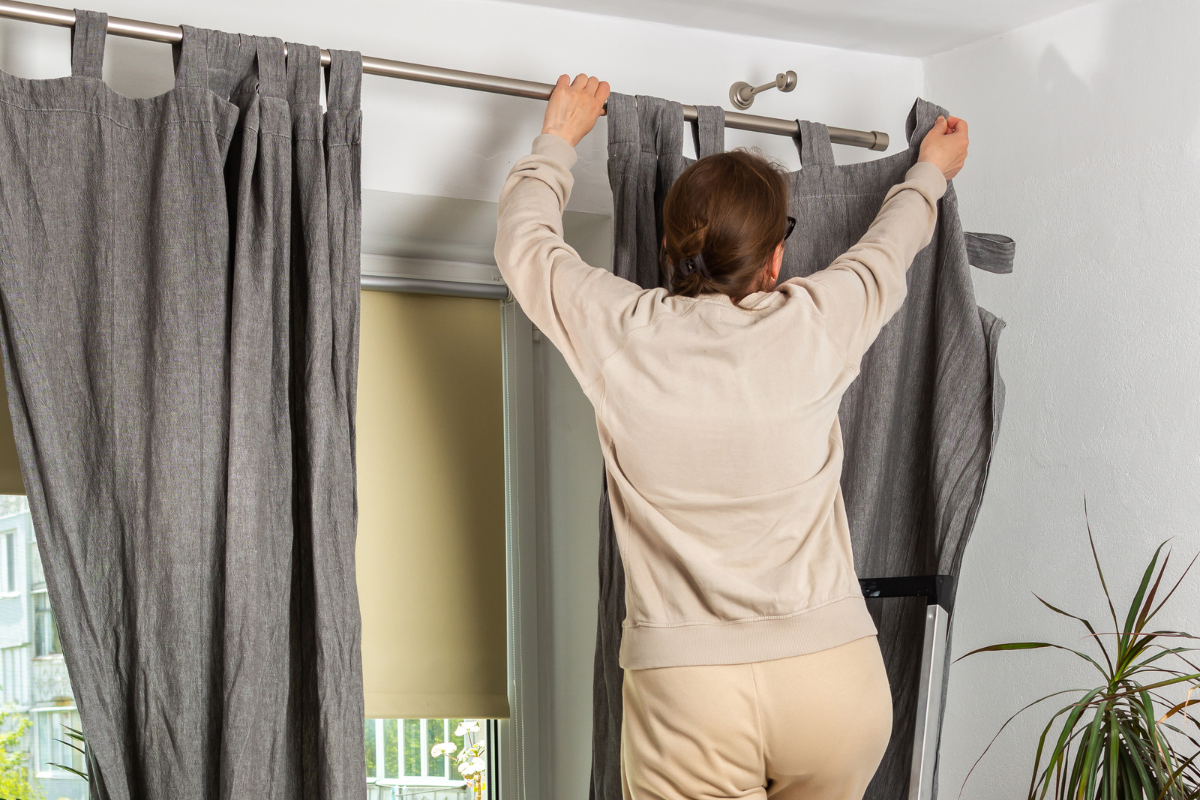
The placement of the curtain rod plays a significant role when hanging curtains. Not only does it affect how the curtains hang, but it also impacts the overall look and feel of the room. One of the first things to consider is the height of your ceiling. Generally, hanging curtain rods ½ to ⅔ of the distance between the top of the window trim and the ceiling is recommended. This ensures that the curtains hang properly and the space does not appear smaller than it is.
A useful suggestion includes the use of a longer curtain rod. This allows the curtains to be pulled back away from the window, letting in more light and making the windows appear larger. Hanging curtains higher can also enhance the room’s aesthetics, making the space feel taller and more open.
Lastly, taking into account the width of the curtain rod is advisable. It should extend beyond the window frame to allow the curtains to be fully opened, maximizing natural light and giving the illusion of larger windows. By following these tips, you’ll be well on your way to hanging curtains that not only look great but also function perfectly in your space.
Determining the Right Height
Determining the correct height for the curtain rod is a critical aspect of hanging curtains. The height at which you hang your curtain rod can significantly impact the overall appearance of your room. Hanging curtains higher can make windows appear larger and enhance the room’s aesthetics. When deciding where to place the curtain rod, it is important to consider the height of your ceiling. This will ensure that the curtains hang properly and look aesthetically pleasing.
We will explore some standard height guidelines and tips for creating the illusion of taller ceilings.
Standard Height Guidelines
There are some standard height guidelines to follow when it comes to hanging curtain rods. Typically, curtain rods should be hung ½ to ⅔ of the distance between the top of the window trim and the ceiling. This placement ensures that the curtains hang properly and that the space does not appear smaller than it is. For most scenarios, mounting brackets about four inches above the window frame works well.
For those looking to create a more dramatic effect, hanging the curtain rods closer to the ceiling can be an excellent choice. Mounting brackets 4-6 inches above the window frame can draw the eye upwards, making the room feel taller and more spacious. By following these standard height guidelines, you can achieve a balanced and aesthetically pleasing look for your window treatments.
Creating the Illusion of Taller Ceilings
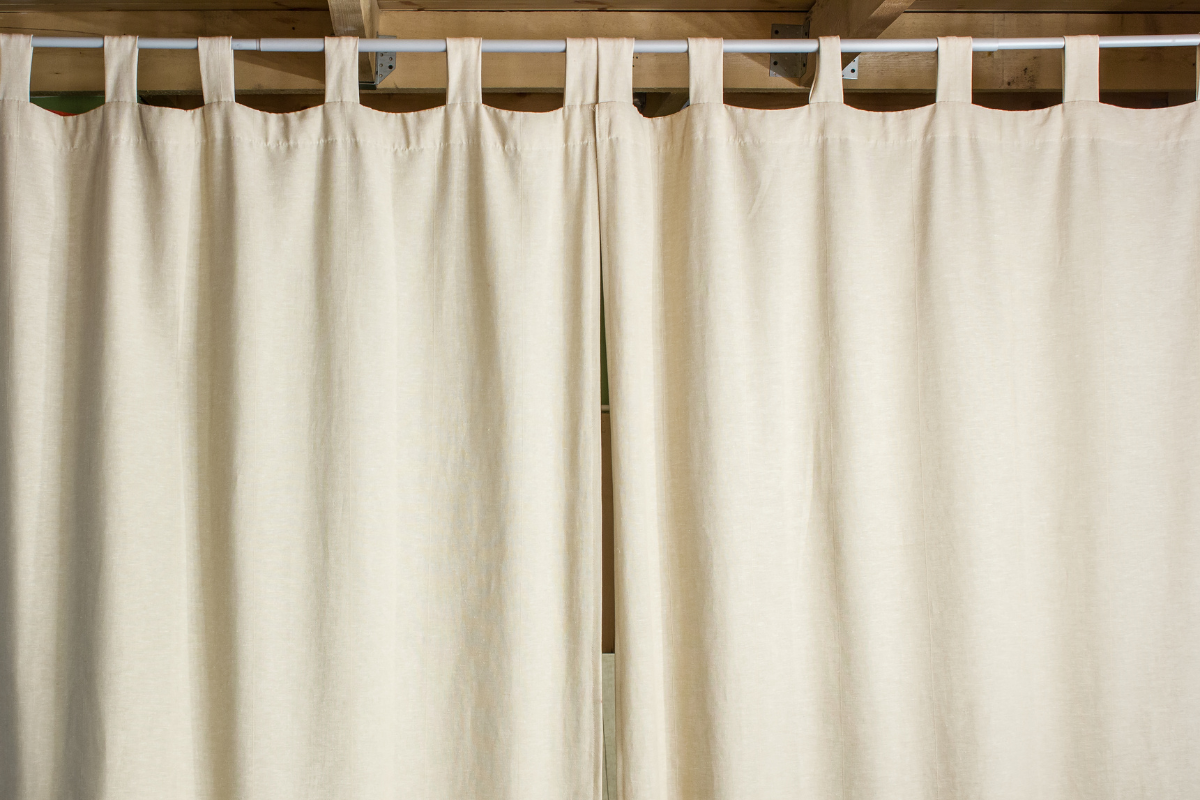
If you want to make your room feel taller and more spacious, consider hanging your curtain rods higher. By placing the curtain rods about 3-4 inches below the ceiling, you can draw the eye upwards and create the illusion of taller ceilings. This technique works particularly well in rooms with low ceilings, as it helps to elongate the space visually.
An alternative method that can be equally effective is to install the curtain rods 4-6 inches above the window frame. This technique can also help create the illusion of a larger window and bring more light into the room. This placement allows the curtains to cover the upper part of the wall, adding height to the room. By using these tips, you can make your windows appear larger and enhance the overall look of your space.
Calculating the Width for Curtain Rod Placement
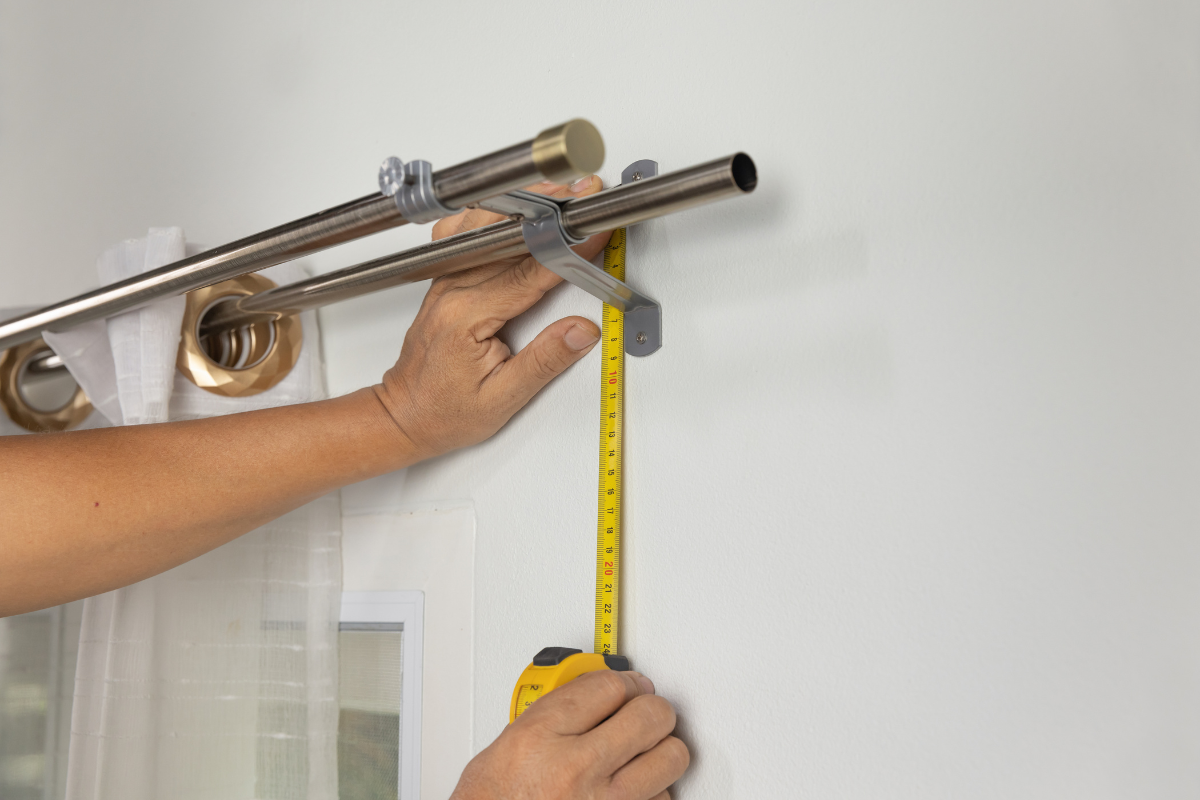
Calculating the width for curtain rod placement is just as important as determining the height. The total width of your curtain panels should be about two times the window’s width to ensure fullness and proper coverage. Additionally, extending the curtain rod beyond the window frame allows the curtains to be fully opened, letting in more light and making the windows appear larger.
We will delve into the details of measuring your window’s width and extending the curtain rod beyond the frame.
Measuring Window's Width
Accurate measurements are crucial when selecting the right curtain rod length. When measuring the width of your window, include any molding or frame to ensure a proper fit. Use a steel tape measure for accuracy and take dimensions to the nearest 1/4 inch.
To determine the appropriate curtain rod length, add the widths of the window, the recommended overlap (about 5 inches per side), and the finial width. This ensures that your curtains will fully cover the window when closed and provide an aesthetically pleasing look when open. Keep in mind that the curtain length should also be considered for a harmonious appearance.
Extending Beyond the Window Frame
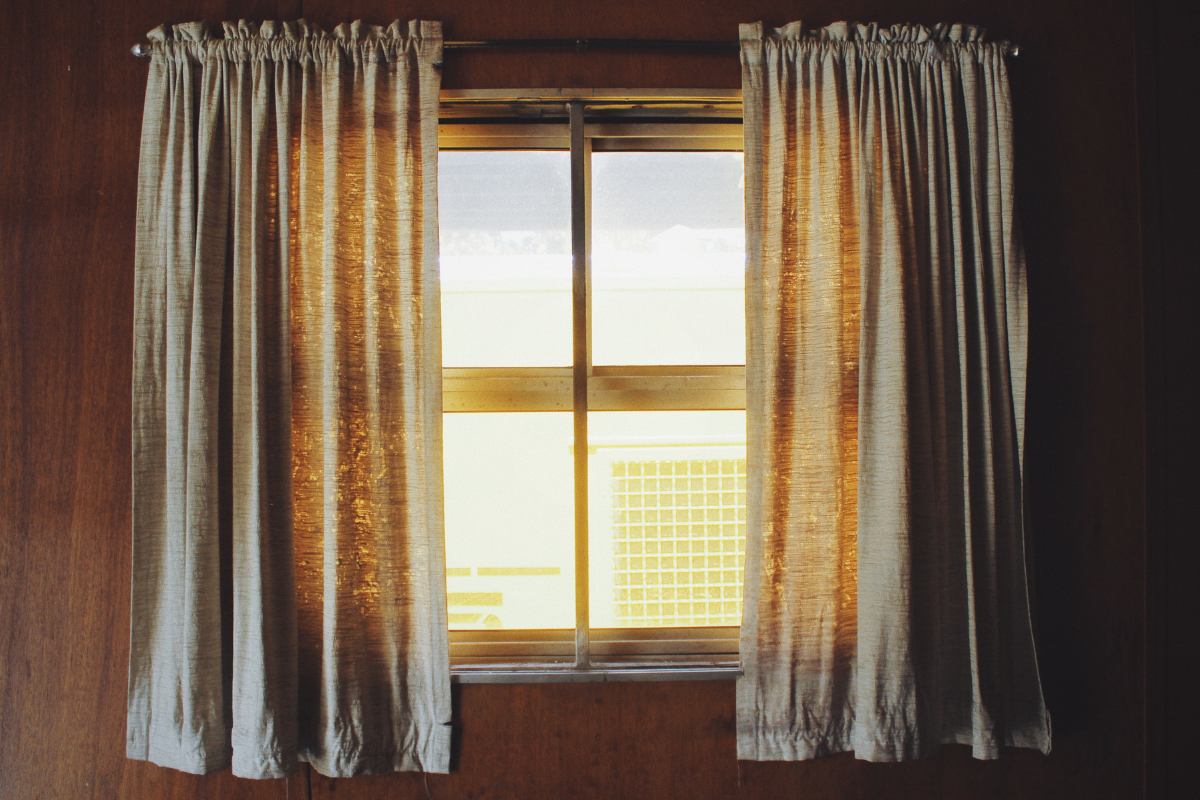
There are several benefits to extending the curtain rod beyond the window frame. Curtain rods should extend 8-12 inches beyond the window frame to allow curtains to be fully opened and let in more light. This also helps create a balanced look, with the added width evenly distributed to each side for a center draw.
For sheer curtains that will be stationary, adding only 3-4 inches to each side of the window frame is sufficient. Each curtain rod bracket is typically installed about three inches to either side of the window. By extending the curtain rod beyond the window frame, you can achieve a more polished and professional look.
Choosing the Right Curtain Rods and Brackets
Ensuring that your curtains hang properly and look great requires choosing the right curtain rods and brackets. The selection of hardware should be based on window measurements, preferred style, and curtain weight.
We will explore the different types of curtain rods and how to choose suitable brackets.
Types of Curtain Rods
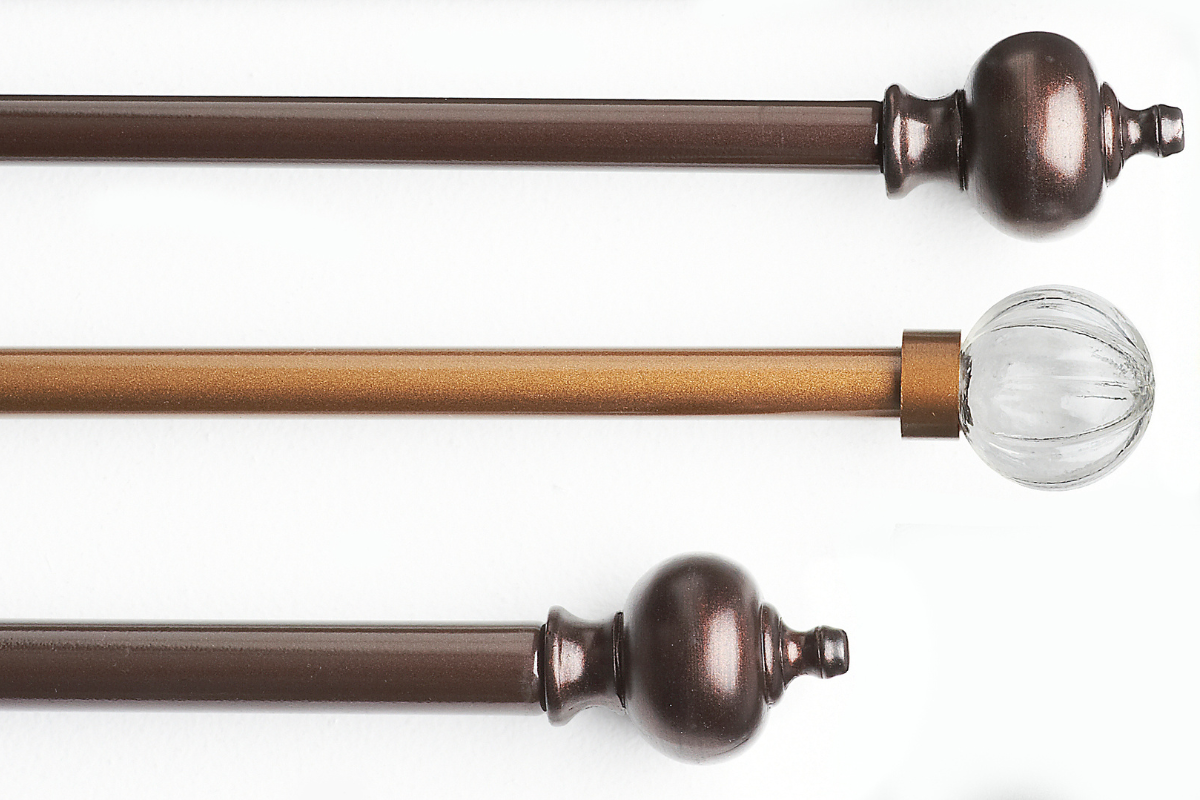
Several types of curtain rods are available, each offering its own advantages. Single curtain rods are versatile and suitable for any window, adding an extra decorative touch. Double curtain rods allow for layering with sheer and thicker panels, adding depth and functionality.
Traverse curtain rods have built-in clips for easy sliding and are suitable for a streamlined look. Tension rods are ideal for small windows and lightweight curtains, as they do not require permanent installation. Selecting the right type of curtain rod is crucial for both aesthetics and functionality, supporting your window treatments and enhancing the overall look of your room.
Selecting Appropriate Brackets
Choosing the correct brackets is as important as selecting the right curtain rod. To determine the ideal size for the curtain brackets, measure the depth of the window molding. This will ensure a proper fit for the brackets. The brackets should support the weight of the curtains to prevent the rod from bending or breaking.
Space the brackets at least every 3 feet to ensure proper support for the curtain rod. Thinner and more delicate rods are suitable for light or sheer curtains. By choosing the right brackets, you can ensure that your curtains hang securely and look great.
Installing Curtain Rods Without Drilling
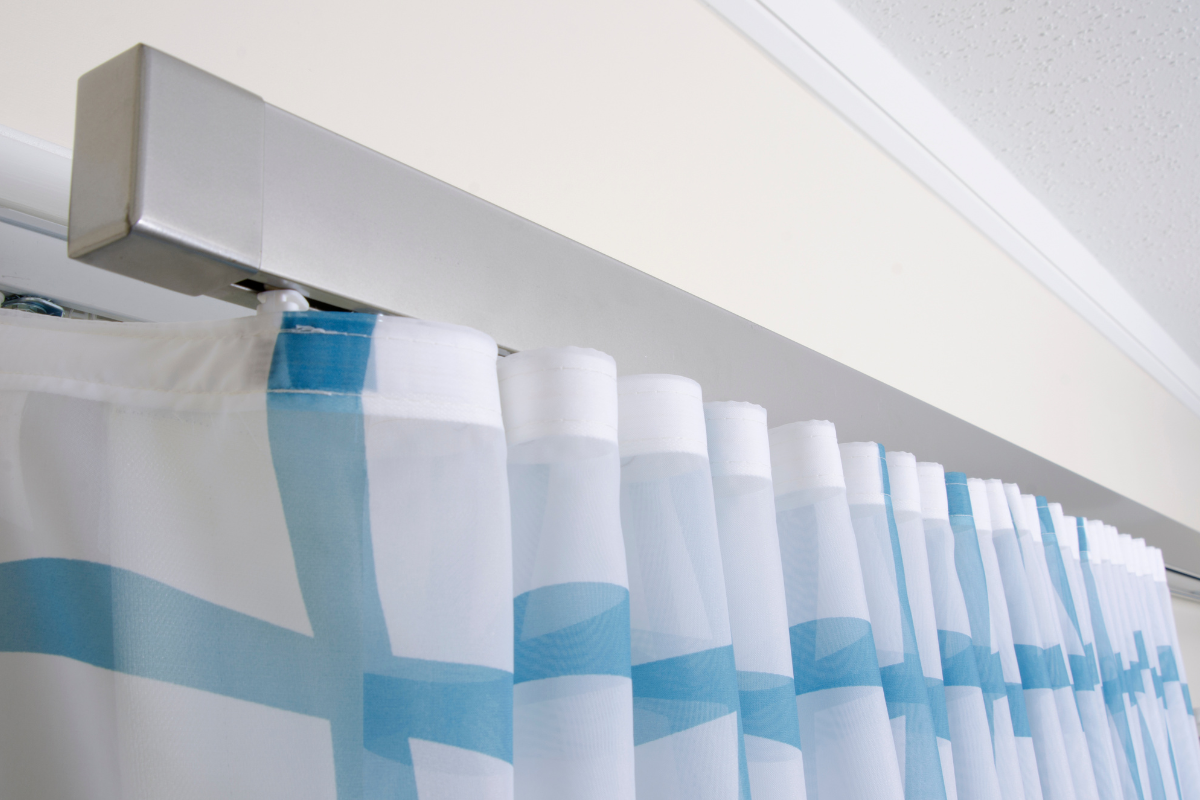
Several no-drill options are available for hanging curtains for those who prefer not to drill holes in their walls. These include adhesive hooks, Kwik-Hang curtain rod brackets, and tension rods. These options provide a hassle-free and damage-free solution for hanging curtains.
We will delve deeper into these no-drill options.
No-Drill Curtain Rod Brackets
Kwik-Hang curtain rod brackets offer a simple and effective no-drill solution for hanging curtains. These brackets have the following features:
-
Patented no-drill technology that installs in seconds without any tools required
-
Simple installation process, similar to using thumbtacks
-
Minimal effort required for users
To install Kwik-Hang no-drill curtain rod brackets, tap the brackets into the top corners of the window frame with a hammer. Then, thread the curtains onto the rod and hang them. These brackets are designed to prevent damage to walls or woodwork and can hold up to 20 lbs without causing damage. They provide a hassle-free, strong, and stable option for hanging curtains, making them an excellent choice for anyone looking to avoid drilling holes.
Adhesive Hooks and Tension Rods
Adhesive hooks, such as Command hooks, offer another convenient, damage-free solution for hanging curtains. These hooks are particularly effective, providing a sturdy option for curtain installation. One of the biggest advantages of using Command hooks is that they leave no marks on the walls when removed, making them an excellent choice for temporary or flexible arrangements.
Tension rods are ideal for small windows and lightweight curtains. They do not require permanent installation, making them a quick and easy option for hanging curtains without drilling. These no-drill options are perfect for renters or anyone looking to avoid damaging their walls while still enjoying beautiful window treatments.
Step-by-Step Guide to Hanging Curtain Rods
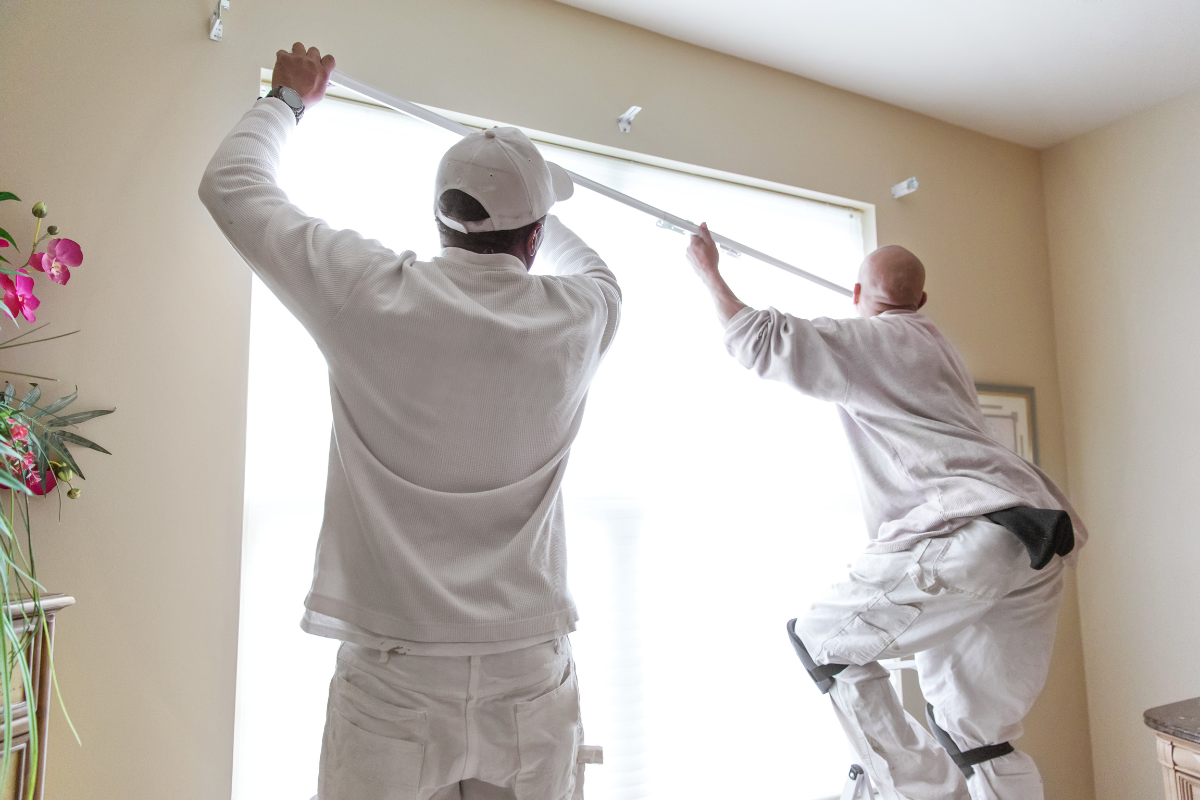
Although hanging curtain rods may seem daunting, a professional-looking installation can be achieved with the right tools and a step-by-step guide. From gathering tools and materials to marking and drilling pilot holes, and finally, securing the brackets and hanging the curtains, we’ll cover all the essential steps for a successful curtain rod installation.
Gathering Tools and Materials
Gather all the necessary tools and materials before you start. You’ll need:
-
a screwdriver
-
a level
-
wall anchors
-
a pencil
-
painter’s tape
-
a curtain rod kit
-
a stud finder
A level is crucial to ensure the mounting brackets are straight, providing a polished and professional look.
Painter’s tape can be useful for temporarily marking positions, and a stud finder will help you locate studs in the wall for more secure bracket installation. By having all your tools and materials ready, you’ll ensure a smooth and efficient installation process.
Marking and Drilling Pilot Holes
The next step after assembling your tools and materials is to mark and drill pilot holes for the curtain rod brackets. Use a pencil to mark the locations for the screw holes for the wall mount brackets. Make sure to double-check your measurements before making any permanent marks on the wall.
Drilling pilot holes is essential for ensuring the screws go in smoothly and securely. Use a 3/16 inch drill bit for the pilot holes and gently tap the wall anchors into place. This will provide a strong and stable base for your curtain rod brackets.
Securing Brackets and Hanging Curtains
Once the pilot holes are drilled, you can install wall anchors, secure the brackets, and hang the curtains. Use a drill or a screwdriver to fasten the curtain rod brackets to the wall, ensuring they are tightly secured. Make sure the brackets are level and evenly spaced to prevent the rod from sagging.
After securing the brackets, follow these steps to hang your curtains:
-
Thread the curtain rings or panels onto the curtain rod.
-
Set the rod into the brackets.
-
Adjust the curtains to ensure they hang evenly.
-
Make any final tweaks to achieve the desired look.
With the brackets secured and the curtains in place, you’ll have a beautifully dressed window that enhances your room’s aesthetic, complemented by stylish window casings.
Enhancing Your Space with Curtain Hardware
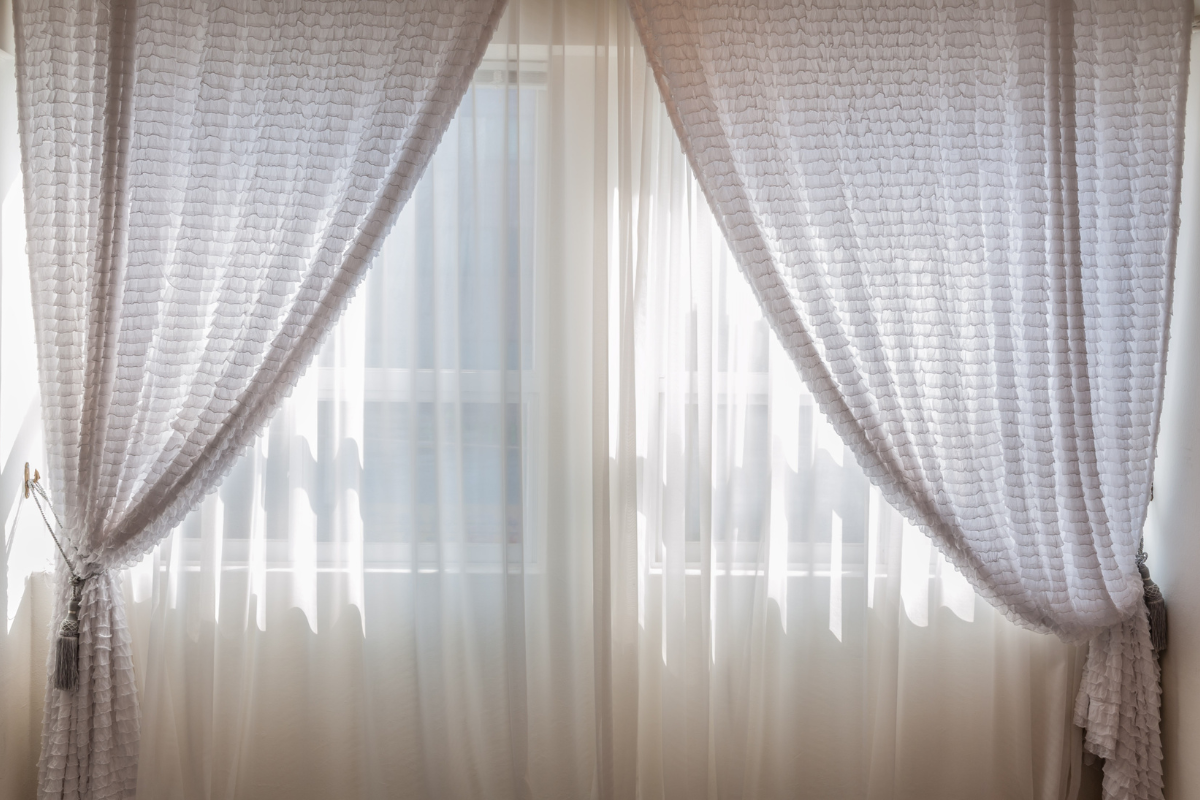
Choosing the correct curtain hardware plays a role in complementing your room’s style and enhancing its overall look. Curtain hardware, such as rods, finials, and tiebacks, can add a decorative touch and serve as a focal point in the room. By choosing hardware that matches your room’s decor, you can create a cohesive and polished appearance.
We will delve into some decorative options and tips for aligning hardware with your room’s style.
Decorative Finials and Tiebacks
Although finials and tiebacks are small details, they can significantly impact the overall appearance of your curtain rods. Finials come in various shapes and designs, such as geometric, floral, or classic ball shapes. Acrylic finials can add a modern and unique aesthetic to window treatments, while painted wood finials in soft tones complement cottage or country interiors.
Crystal or glass finials add a touch of sparkle and elegance to window treatments, making them a great choice for more sophisticated rooms. Tiebacks, on the other hand, provide a practical way to hold curtains open while adding a decorative element. By selecting the right finials and tiebacks, you can enhance the beauty and functionality of your curtains.
Matching Hardware to Room Style
To create a harmonious and pleasing aesthetic, it’s important that your curtain hardware matches the room’s style. For modern rooms, sleek and minimalistic curtain hardware works best, with finishes like chrome, nickel, and silver. Motorized curtain rods are also a great option for modern spaces, offering convenience and a high-tech look.
Nature-inspired rooms can benefit from unique elements like tree branches used as curtain rods or rustic hardware made from wood or wrought iron. Traditional rooms, on the other hand, might look best with ornate and detailed curtain hardware. By carefully selecting hardware that matches your room’s style, you can achieve a cohesive and stylish look that enhances your overall decor.
Summary
Hanging curtain rods may seem like a simple task, but getting it just right can make a world of difference in your home’s appearance and functionality. From determining the right height and width to choosing the appropriate rods and brackets, every detail matters. Properly hung curtains can make your windows appear larger, your ceilings taller, and your rooms more inviting.
By following the tips and guidelines provided in this blog post, you’ll be well-equipped to hang curtains like a pro. Whether you’re installing new curtains or refreshing your current setup, the right curtain hardware and placement can enhance your living space beautifully. So grab your tools, take some measurements, and get ready to transform your windows with perfectly hung drapes.
Frequently Asked Questions
How high should I hang my curtain rods?
Hang your curtain rods 4-6 inches above the window frame or ½ to ⅔ of the distance between the top of the window trim and the ceiling for a more dramatic look.
How wide should my curtain rod be?
Your curtain rod should extend 8-12 inches beyond the window frame for full curtain opening and better light.
What types of curtain rods are available?
You can find single rods, double rods for layering, traverse rods with built-in clips, and tension rods for lightweight curtains. Consider your curtain weight and style when choosing the right one for your space.
Can I hang curtains without drilling holes in the wall?
Yes, you can hang curtains without drilling holes by using options such as Kwik-Hang curtain rod brackets, adhesive hooks like Command hooks, and tension rods. Happy decorating!
How do I ensure my curtain rod brackets are secure?
Make sure to use a level to align the brackets, drill pilot holes, and use wall anchors for a secure and stable installation. This will prevent any risk of the curtain rod falling down unexpectedly.


