Want to learn how to make a quilt? You’re in the right place. This guide will take you step by step through the entire process, from choosing your first pattern to the final stitch. Whether you’re a complete beginner or brushing up on your skills, we’ll help you create a beautiful quilt. Let’s dive in!
Selecting Your Quilt Pattern
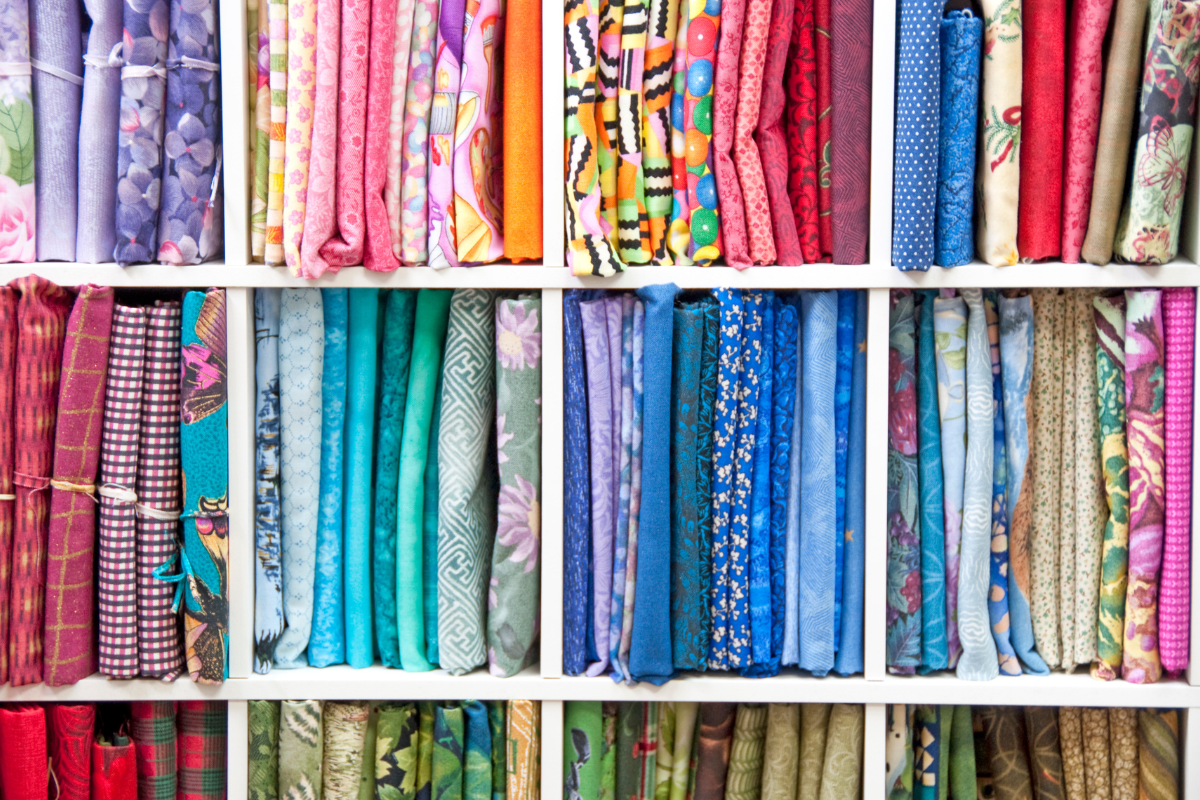
As a novice quilter, the right pattern selection can greatly impact your success and enjoyment. As a beginner, it’s best to start with a simple project that will help you build your skills and confidence. Simple patchwork quilts and geometric designs are excellent choices for those new to quilting. These patterns allow you to focus on mastering basic techniques without getting overwhelmed by complex designs.
One popular option for beginners looking to make a quilt and working on their first quilt is the Scrappy Nine-Patch Quilt. This classic design is not only visually appealing but also provides an excellent opportunity to practice accurate cutting and piecing. Another beginner-friendly pattern is the Candy Boxes quilt, which features simple squares arranged in an eye-catching layout. These patterns are forgiving of small mistakes and allow you to experiment with color combinations and fabric choices.
To make your first quilting experience even smoother, consider using precut quilt fabrics squares. Many quilt shops offer Mini Charm packs, Charm Packs, or Layer Cakes, which are collections of coordinated fabric squares cut to specific sizes. These precuts can save you time and ensure consistency in your quilt blocks. As you gain confidence, you might want to try strip-pieced projects like the Beachcomber pattern, which introduces you to working with fabric strips while still maintaining a beginner-friendly approach.
Gathering Essential Supplies
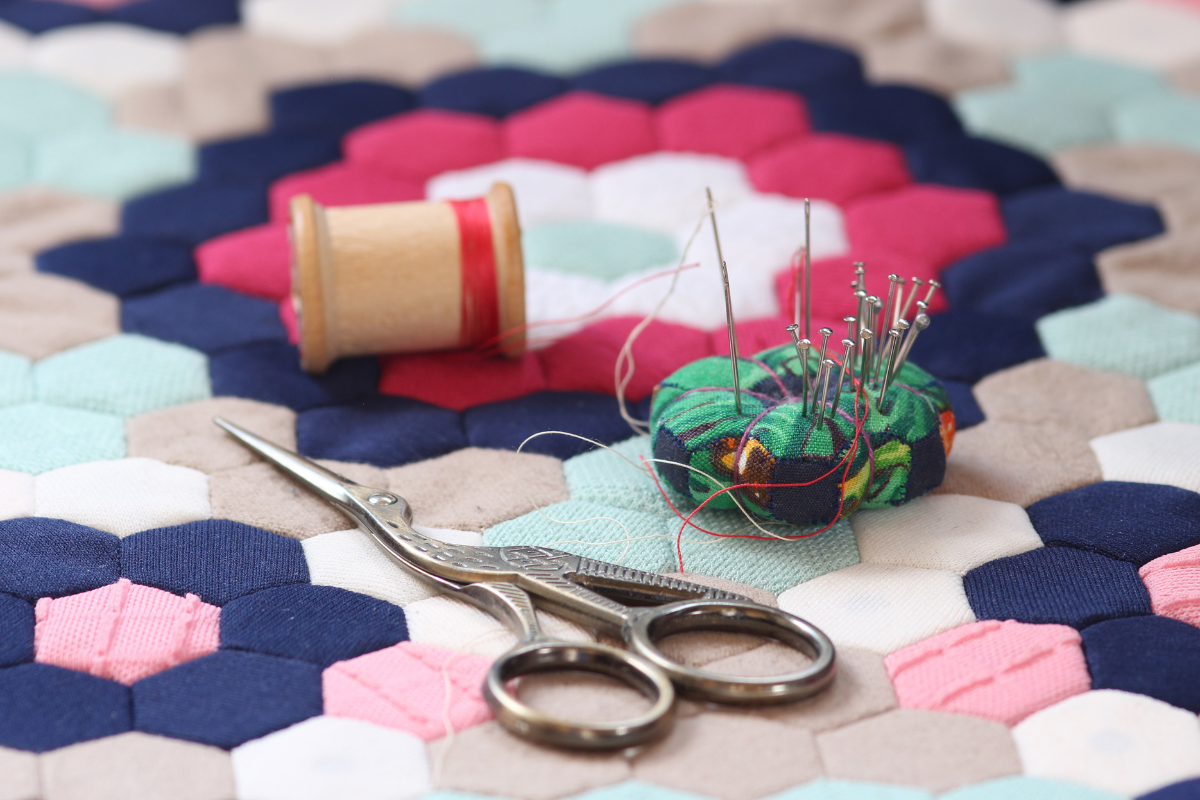
Before embarking on your quilting project, ensure all the necessary supplies are at hand. The foundation of any quilt is, of course, the quilt fabric. For beginners, it’s recommended to use 100% quilting weight cotton. This type of fabric is easy to work with, holds its shape well, and comes in a wide variety of colors and prints. High-quality quilter’s weight cotton is particularly beneficial as it tends to shrink less than cheaper alternatives, ensuring your finished quilt maintains its intended dimensions.
Some other supplies you will need for quilting include:
-
Quilting ruler
-
Rotary cutter
-
Cutting mat
-
Sewing machine
-
Thread
-
Needles
-
Pins
-
Scissors
-
Iron and ironing board
-
Batting
-
Quilting gloves
Having all these supplies ready will make your quilting project much easier and more enjoyable.
In addition to fabric, you’ll need some basic tools to get started. Here are the essential tools for quilting:
-
Rotary cutter with a 45mm blade for accurate fabric cutting
-
Self-healing cutting mat to protect your work surface and keep your blades sharp
-
Transparent acrylic quilting rulers with non-slip grips for precise measurements and straight cuts
These three items – rotary cutter, mat, and ruler – form the holy trinity of quilting tools and will be your constant companions throughout the quilting process.
Naturally, a reliable sewing machine capable of sewing a straight line is a must. While you don’t need a fancy, high-end machine to start quilting, make sure your machine is in good working order and can handle multiple layers of fabric. Other helpful supplies include quilting gloves to help you grip and maneuver your quilt, and high-quality 50 wt. 100% cotton thread for both piecing and quilting. Remember, investing in good-quality tools and materials from the start can make your quilting experience much more enjoyable and lead to better results.
Preparing Your Fabric
With your fabric and supplies ready, it’s time to set up your materials for quilting. One of the first decisions you’ll need to make is whether to pre-wash your fabric. While modern dyes and stabilizers have reduced the necessity of pre-washing, it’s still recommended for certain situations. If you’re using dark fabrics that will be placed next to a white background, pre-washing can help prevent color bleeding. It’s also a good idea if you have chemical sensitivities, as it can help remove any residual chemicals from the fabric manufacturing process.
Once your fabric is ready, the next step is to iron it thoroughly. This is where a secret weapon of many quilters comes into play: starch. Ironing your fabric with starch helps stabilize it, making it easier to cut accurately and reducing stretch during the sewing process. For best results, use spray starch and a hot iron before you start cutting your fabric pieces. This extra step might seem time-consuming, but it can significantly improve the accuracy of your cuts and, consequently, the overall quality of your quilt.
Cutting Fabric Pieces
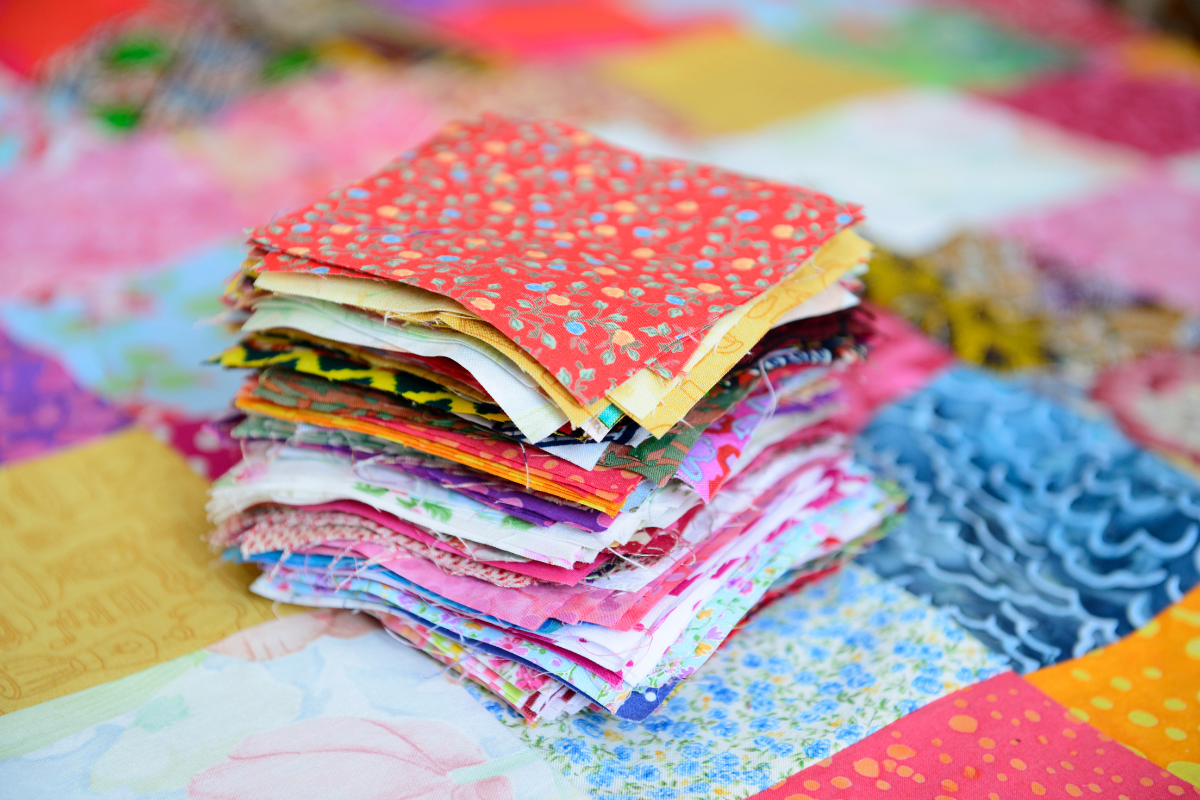
With your fabric pressed and starched, you’re ready to start cutting. Accurate cutting is crucial for stitching together precise patchwork, so take your time with this step. Begin by removing any remaining wrinkles with a final pass of the iron. Then, using your rotary cutter, cutting mat, and clear acrylic ruler, carefully measure and cut your fabric pieces according to your chosen pattern.
Remember to factor in seam allowances when cutting your pieces. Most quilt patterns use a 1/4 inch seam allowance, so be sure to include this in your measurements. If you’re working with larger pieces of fabric, consider cutting them down to more manageable sizes first. For example, you might turn half-yard pieces into fat quarters before cutting your final shapes. This can make the fabric easier to handle and reduce the risk of distortion during cutting.
Piecing the Quilt Top
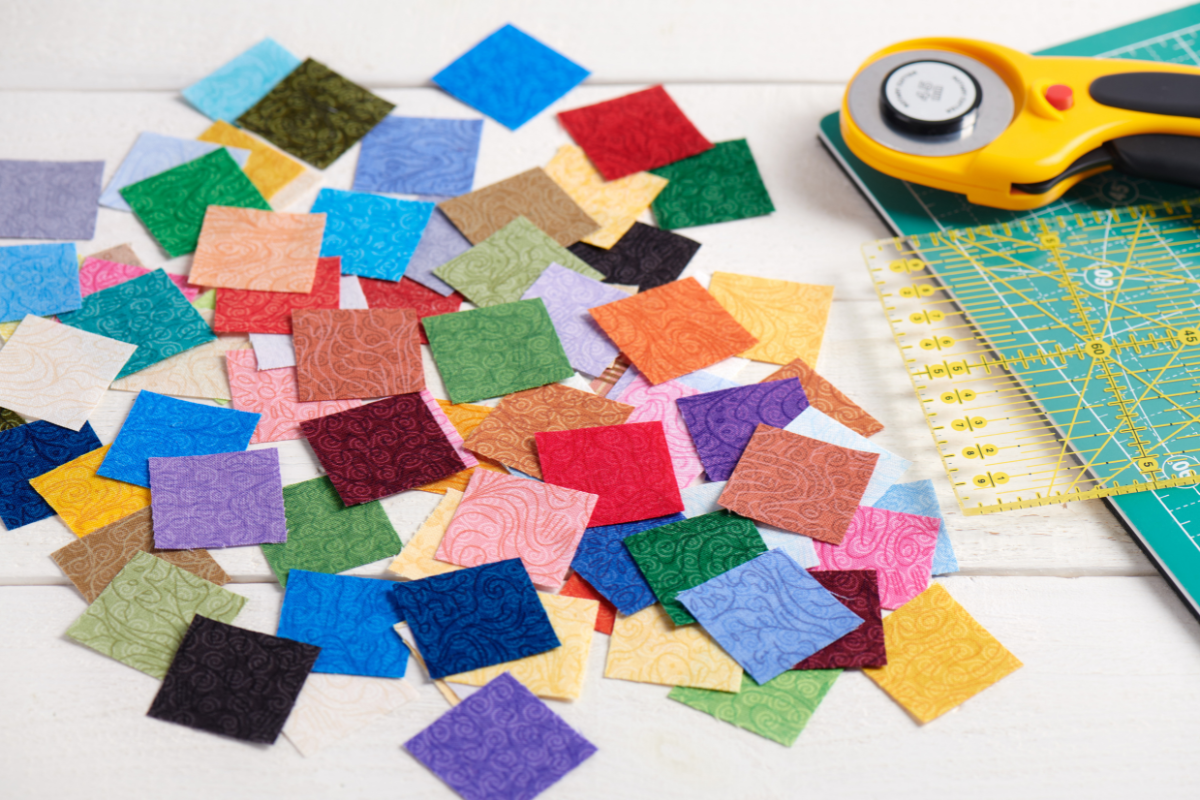
Having cut and prepared your fabric pieces, you can now begin piecing your quilt top. This is where your quilt really starts to take shape! Begin by arranging your fabric squares or pieces according to your chosen pattern. Laying out all your pieces before you start sewing allows you to ensure a pleasing pattern and better accuracy when it’s time to stitch.
To keep your pieces organized as you work, use labeled pins to mark the first square of each row and the start of different sections. This simple step can save you a lot of confusion and potential mistakes as you piece your quilt top together. As you sew, consider using a technique called chain piecing. This involves sewing multiple pairs of squares together without cutting the thread between each pair. Chain piecing not only increases efficiency but also helps maintain the order of your pieces.
For more complex quilt patterns, it can be helpful to divide your quilt into sections. Piece each section separately to form larger blocks, then sew these blocks together to create your quilt top. This approach can make handling your quilt more manageable, especially for larger projects. Remember, quilting blocks are units sewn together to form a pattern or design, and these blocks come together to create your final quilt top.
Pressing Seams
As you piece your quilt top, proper pressing of seams is crucial for achieving a professional-looking result. An iron with a steam function and a sturdy ironing board are essential tools for this step. When pressing seams, consistency is key. A common technique is to press seams of odd rows to the left and even rows to the right. This method ensures that seams will nest properly when you sew your rows together, resulting in crisp, well-aligned intersections.
For sections or blocks within your quilt, alternate the final press direction. This alternating pattern helps seams nest accurately when you join larger sections together, contributing to a flatter, more polished quilt top. Remember, the goal is to create a perfectly straight seam that will help your final quilt come together without puckers, waves, or mismatched seams.
Take your time with this step – good pressing can elevate the overall quality of your quilt significantly.
Making the Quilt Sandwich
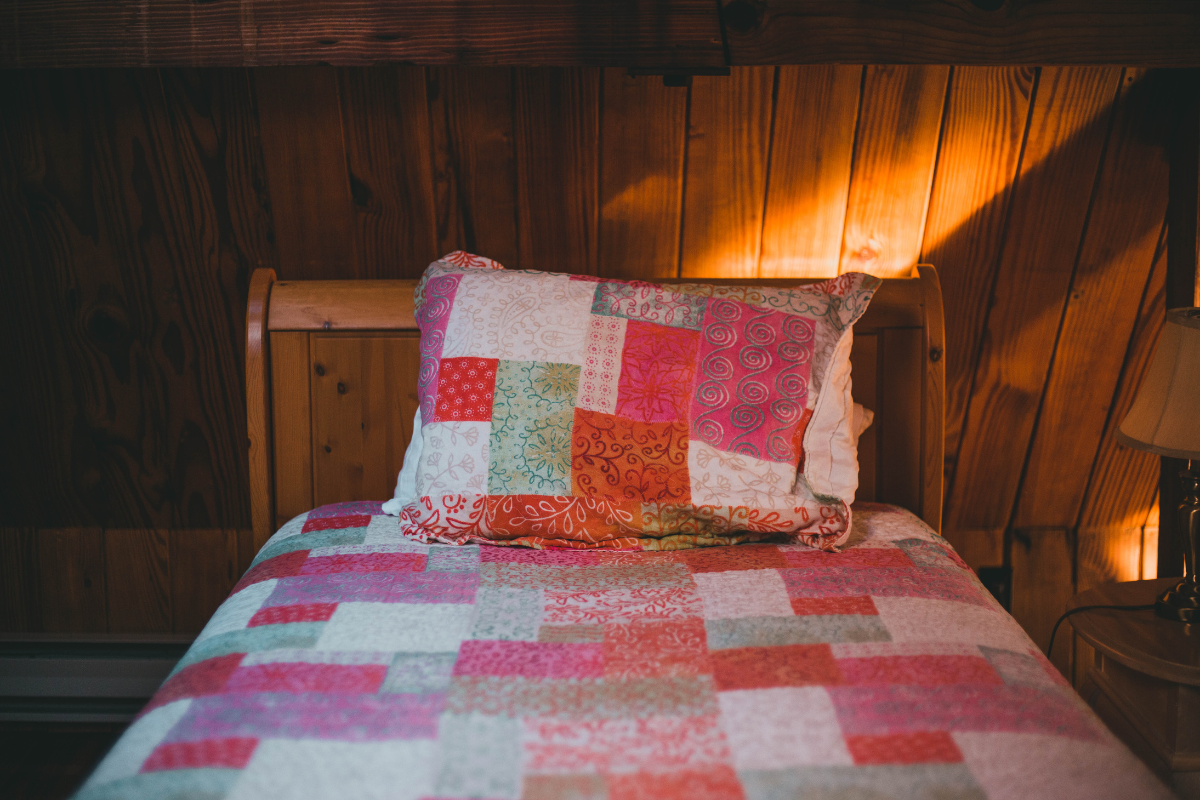
With the completion of your quilt top, you can now assemble the so-called “quilt sandwich” loved by quilters. This sandwich consists of three layers: your beautifully pieced quilt top, the batting (the soft, insulating middle layer), and the quilt backing. The order is crucial: the backing goes on the bottom (right side down), followed by the batting, and finally your quilt top (right side up).
To begin, lay your quilt backing right side down on a large, flat surface. It’s helpful to tape the edges with masking or painter’s tape to keep it smooth and taut. Next, roll up your batting like a pool noodle and carefully unroll it onto the backing, smoothing out any wrinkles as you go. Finally, repeat this process with your quilt top, starting at one end and gently unrolling it onto the batting, smoothing it out as you go.
To temporarily hold these layers together, many quilters use a quilt basting spray like SpraynBond Basting Adhesive. This spray creates a temporary bond between the layers, allowing you to reposition them if needed.
Once your quilt sandwich is complete, carefully remove the tape from your work surface and quilt backing. Congratulations! You’ve successfully created your quilt sandwich and are ready for the next exciting step in your quilting journey.
Basting the Quilt
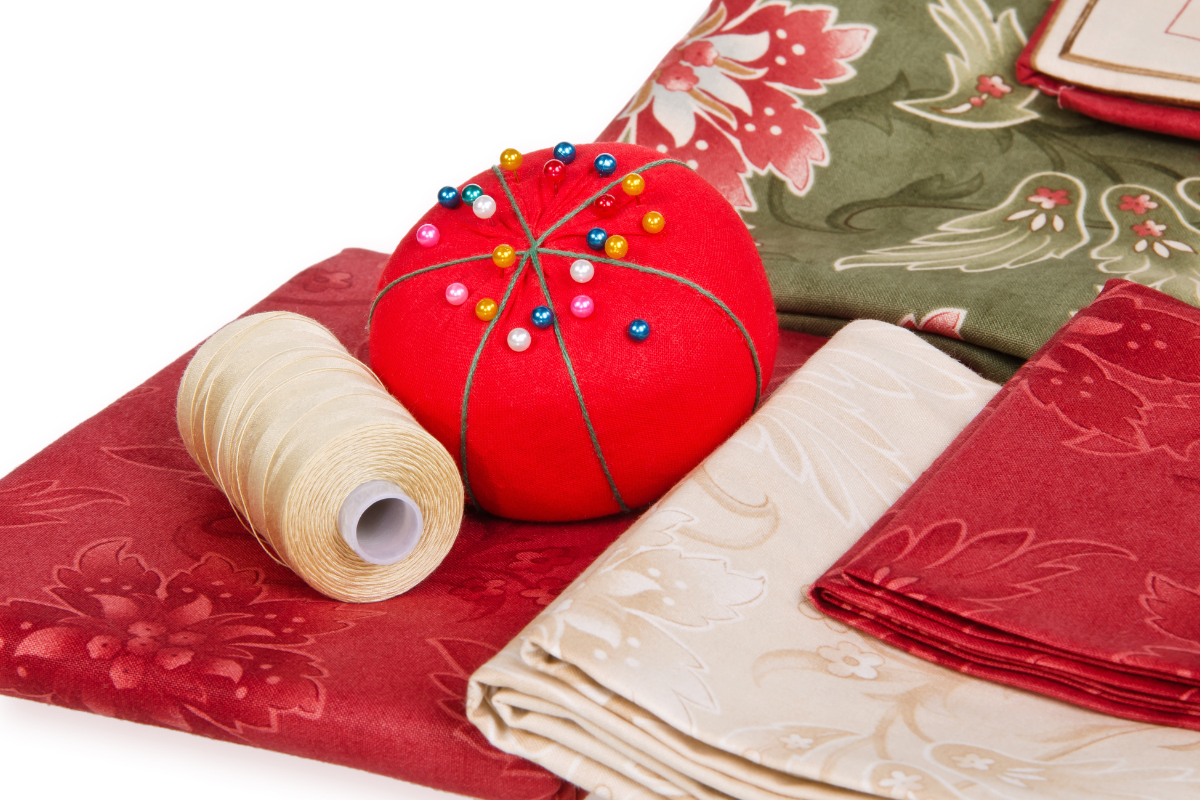
Basting, a key step in quilting, helps prevent your quilt layers from moving as you work. It’s essentially a temporary way of holding your quilt sandwich together, and doing it well can significantly reduce the likelihood of bunching, puckering, or distortion during the quilting process.
There are two main methods for basting a quilt: pin basting and spray basting. Pin basting is the most common method, especially for beginners. It involves using safety pins to secure the layers of your quilt sandwich together. Curved quilt basting safety pins, typically size #2, are ideal for this task as they’re designed to easily pierce through the batting. When pin basting, start from the center of your quilt and work your way outward. This technique helps prevent wrinkles and ensures your layers stay smooth.
Alternatively, you might choose to use spray basting. This method involves using a temporary adhesive spray to stick your quilt layers together. While it can be faster than pin basting, it can also be messier and more costly. However, many quilters find that spray basting, either alone or in combination with pins, works well for machine quilting.
Whichever method you choose, remember that the goal is to keep your quilt layers secure and smooth as you move on to the exciting process of quilting.
Quilting Techniques
This is where the magic happens – the actual quilting process that brings your quilt to life! Quilting is the process of stitching together the three layers of your quilt sandwich, adding texture and depth to your creation. There are several techniques you can use, and the choice often depends on your skill level, the quilt design, and your personal preferences. Some common quilting techniques include:
-
Straight line quilting
-
Free motion quilting
-
Hand quilting
-
Machine quilting
-
Echo quilting
-
Stippling
Experiment with different techniques to find the one that works best for you and your quilt. Happy quilting!
One of the most beginner-friendly techniques is straight line quilting. As the name suggests, this involves sewing straight lines through your quilt layers. It’s similar to the piecing you’ve already done, making it a comfortable starting point for many new quilters. To achieve perfectly straight lines, consider pre-marking them on your quilt with a hera marker and ruler. Using a walking foot can also help improve your straight line quilting by evenly feeding all layers of the quilt sandwich through your machine.
For those feeling a bit more adventurous in quilt making, free-motion quilting offers endless possibilities for creative expression. This technique allows you to “draw” with your needle, creating swirls, flowers, or any design you can imagine. It takes practice, but can add a beautiful, personalized touch to your quilt.
Regardless of the technique you choose, there are a few tips to keep in mind:
-
Use a larger needle, like a 90/14 size, to safely stitch through the thicker layers.
-
Adjust the stitch length to suit the thickness of your quilt layers and the desired visual effect.
-
Consider using heavier weight threads, such as 40w or 28w, to add visual texture to your quilting.
-
Quilting gloves can help you maneuver the quilt more easily, especially when working on larger projects.
-
Always quilt in the same direction each time to avoid visible drag lines on the fabric.
Binding the Quilt Edges
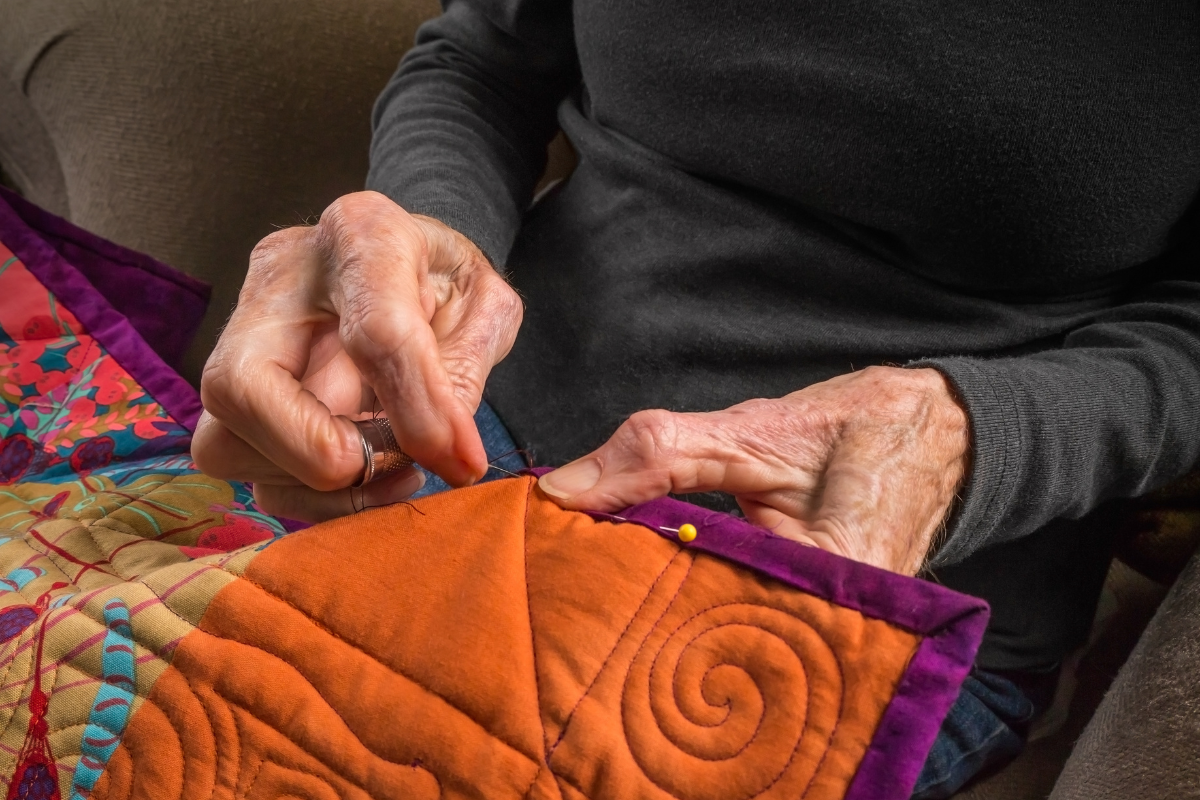
You’re almost there! The final step, binding, encloses the raw edges and lends your quilt a clean, professional finish. To begin, you’ll need to create your binding strips. Cut seven strips of fabric, each 2-1/2 inches wide, using your rotary cutter and acrylic ruler.
Once your strips are cut, press the entire length of each strip in half to prepare them for attachment. This creates a clean folded edge that will be visible on the front of your quilt. As you sew the binding to your quilt edge, Wonder Clips can be incredibly helpful for holding the binding in place. These are gentler on your fabric than pins and make the process much smoother.
When you reach the end of your binding, you’ll need to join the ends neatly. Here’s how:
-
Fold the end of one binding tail to create a tidy, folded edge.
-
Tuck the second tail inside the folded edge.
-
Sew these ends together to complete your binding.
This method, using backing fabric, creates a seamless look that adds a professional touch to your entire quilt, ensuring a beautifully finished quilt.
Adding a Quilt Label
Your quilt is almost done, and one last detail can make it truly one-of-a-kind – the quilt label. Labeling your quilt is crucial for documenting and preserving its history. It’s a way to help you remember when the quilt was made, and if it’s a gift, it adds a personal touch that the recipient will cherish.
A quilt label can include various pieces of information, such as who made the quilt, who it’s for, and why it was made. There are several ways to create a label. You can use fabric markers to write directly on a piece of fabric, or you might prefer pre-made quilt labels that can be easily stitched or ironed onto your quilt.
For a more personal touch, consider adding a custom embroidered label, especially if the quilt is a gift. Whatever method you choose, your label can include a personal note, favorite quote, or inspirational message to make it even more meaningful.
Washing and Caring for Your Quilt
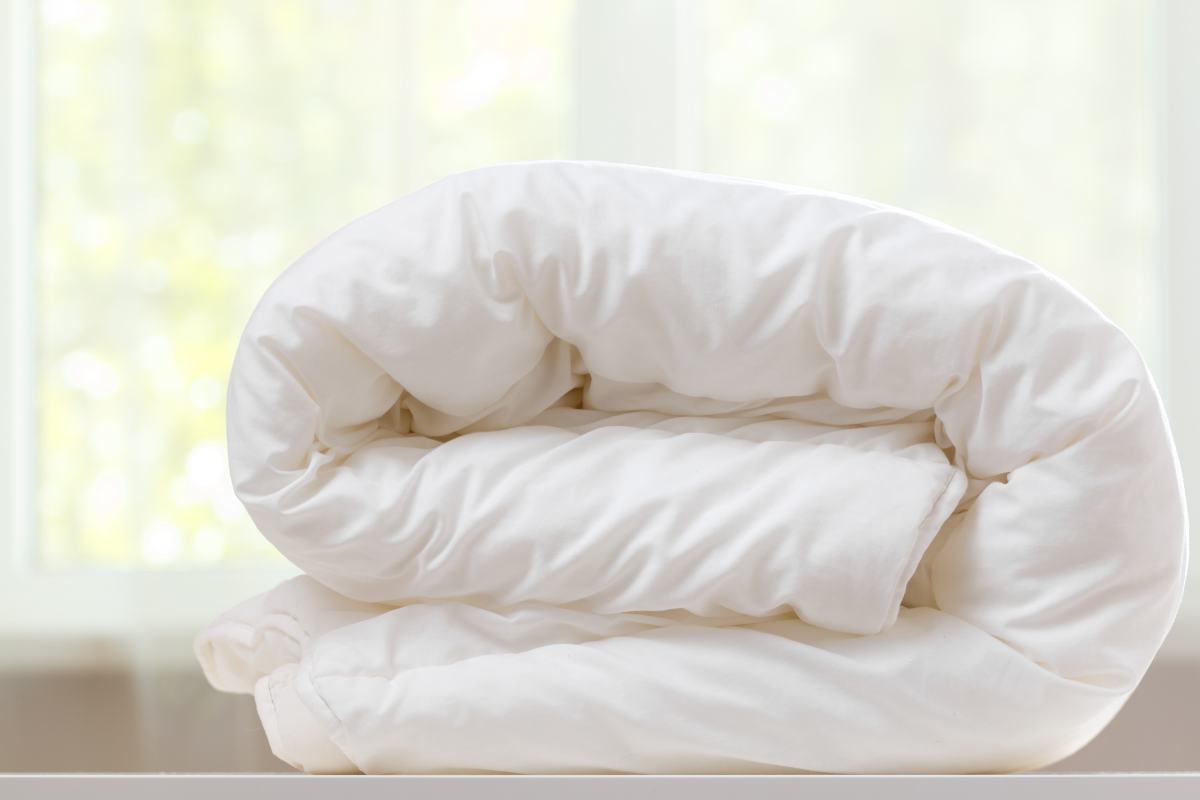
Well done on completing your quilt! Next, we’ll discuss how to maintain its beauty for many years to come. Proper care and maintenance are essential for preserving the quality and longevity of your handmade treasure.
When it comes to washing your quilt, follow these steps:
-
Always use a cold, gentle cycle with a mild detergent.
-
It’s best to wash your quilt with similar colors or, better yet, on its own to avoid any accidental discoloration.
-
If your quilt has appliqué, embroidery, or other handcrafted details, it will require extra care during washing.
-
As a general rule, quilts should be washed about twice a year, and always before storage.
For drying, you have two options. You can tumble dry your quilt on a low-temperature, gentle setting. Adding wool dryer balls or clean tennis balls to the dryer can help your quilt dry faster and more evenly. Alternatively, you can air dry your quilt by laying it flat on a clean surface. Avoid hanging it, as this can cause stretching.
When it comes to storage, the best option is to lay your quilt on a spare bed. If that’s not possible, fold it and store it in a linen closet with good airflow. With proper care, your quilt will remain a cherished item for generations to come.
Summary
We’ve journeyed together through the entire process of creating a quilt, from selecting your first pattern to adding the finishing touches and caring for your completed masterpiece. Along the way, you’ve learned about choosing fabrics, cutting accurately, piecing your quilt top, creating the quilt sandwich, various quilting techniques, and how to bind and label your quilt. Each step has built upon the last, gradually transforming simple pieces of fabric into a beautiful, functional work of art.
Remember, quilting is as much about the journey as it is about the destination. Each quilt you make will teach you something new, honing your skills and fueling your creativity. Don’t be discouraged if your first quilt isn’t perfect – even experienced quilters are constantly learning and improving. The most important thing is to enjoy the process, express your creativity, and take pride in creating something unique with your own hands. So, gather your supplies, choose your pattern, and start your quilting adventure. Who knows? This might be the beginning of a lifelong passion that will warm both your home and your heart for years to come.
Frequently Asked Questions
What's the best quilt pattern for absolute beginners?
The best quilt pattern for absolute beginners is a simple patchwork quilt or a design using large squares. Patterns like the Scrappy Nine-Patch or Candy Boxes are excellent choices, as they allow you to focus on basic techniques without getting overwhelmed.
Do I really need to pre-wash my fabric before quilting?
Yes, pre-washing your fabric before quilting is important, especially if you're using dark fabrics next to light ones to prevent color bleeding and to prevent uneven shrinkage. It's also recommended if you have chemical sensitivities.
What's the difference between pin basting and spray basting?
The main difference between pin basting and spray basting is the method used to secure the quilt layers. Pin basting involves safety pins, allowing for easy adjustments, while spray basting uses adhesive spray for a quicker process. It really comes down to personal preference.
How often should I wash my finished quilt?
You should wash your finished quilt about twice a year, and always before storage. If your quilt is used frequently or gets visibly dirty, you may need to wash it more often. Always use a gentle cycle with cold water and mild detergent to preserve your quilt's quality.
Are there any alternatives for adding texture to my quilt?
Don't worry! You can try straight line quilting as a great alternative to free-motion quilting. Varying spacing and direction can create interesting patterns and using a walking foot can add beautiful texture to your quilt without the learning curve.


